Friday, December 21, 2012

Finding Gear Box Lubricant for a 1980 Fiesta - AKA "Snipe Hunt"

I've spent a week researching what gearbox oil to use in the gearbox. What a mine field this is. There are different specifications of lube that are suitable for certain applications. Ok, that makes sense. But if you use the wrong one you could ruin your gearbox. For instance, certain chemicals in gl-5 transmission fluid can oxidize yellow metals such as copper and brass...aren't some bushings made of that? So I have all the manuals ford created for the Fiesta: Shop, Haynes, owners. And the only specification I can find is Ford Spec ESP-M2C83-C. None of the auto parts stores that I talked to could cross reference that with their oils. I went to the local Ford dealer and they didn't have a cross reference in their computer either. Finally the parts guy dug up a note about "Motorcraft Full synthetic manual transmission fluid" is now the recommended oil for the IB5 gearbox and older manual transmissions requiring GL-3 and GL-4 grades. It costs $21.31 a quart. It requires 5 pints or 2.5 quarts.

Haynes manual say it requires SAE80 EP. Castrol product is Hypox Light... I don't see it in the US, but the UK has it at a classic car site.
http://www.holden.co.uk/displayproduct.asp?pCode=090.917

Here is what Castrol US has to say: Manual Transmission

NO MATCH
EP 80W - "WE`RE SORRY, NO OIL RECOMMENDATIONS ARE CURRENTLY AVAILABLE FOR THE VEHICLE YOU SELECTED. TO RECEIVE FURTHER INFORMATION AND POSSIBLE RECOMMENDATIONS, PLEASE CONTACT OUR HELP DESK AT (800) 462-0835"

I can't believe that, of all things on a 33 year old Fiesta that could prove difficult to find, it was transmission fluid.

Happy Holidays Fiesta Generation

Not much progress in the last few weeks as we get ready for the holidays, but tomorrow I get a full day in the garage and hope to get Fuel, Cooling, Vacuum and Electrical all hooked up.  In the mean time enjoy this vintage holiday gift of how this little car came to be in this series I found on YouTube: Ford Fiesta Generation Mk 1...I love the extensive market research in this series. It hits every 70s film cliche' perfectly.  Especially impressive is the computer analysis of the body. Enjoy.

Fiesta Generation 1/5
Fiesta Generation 2/5
Fiesta Generation 3/5
Fiesta Generation 4/5
Fiesta Generation 5/5

Next up, why the hell can't I find the right gear oil to fill the gearbox.

Wednesday, November 28, 2012

Will the $100 big brake kit work with 13" wheels?

The short answer is maybe, but not likely. I'm sure it depends on the 13" wheels.

The center line to the high point of the caliper is 5 7/8" you would need 1/4" clearance. So you'd need an inner diameter of 12-1/4" at the inside of the wheel. The wheel profile is also not flat, it tapers from larger on the inside of the car to smaller towards the spokes. The tightest clearance on my 14" wheels with 30mm offset is by the spokes. That outside part of the caliper also has a smaller distance from center line (5-5/8") than towards the inside of the calipers where the cooling/reinforcing fins and fittings are.  I have over 1/2" at the outside point of the caliper ( by the spokes), but with the balancing weights, there is less than 1/2".  So theoretically it is possible that the big brake kit will work with 13" wheels but it would be really tight.  Caveat Emptor.

If you wanted to test it you could buy 1 rotor and 1 caliper, slide the caliper over the rotor, and bolt up your wheel with out it being mounted on the hub...allow for 1/16" between the rotor and the carrier.  If it doesn't fit, return the parts for a refund.  You may even be able to take a loose wheel to a local auto parts store and have them pull the parts and see if they provide the clearance for your particular wheels and offset.

Saturday, November 24, 2012

Suspension and the $100 Big Brake Kit for the MK1 Fiesta - Redux

I mounted the the suspension back on the Fiesta with the new big brake kit.  I also had some new springs and a replacement right front Boge strut already built up.  Eventually, the Koni sport struts will go on.

New suspension
Here are some final notes about the brake swap:

1.) you will need new caliper bolts. They are m12 - Fine(x1.5) x 30mm long mounting bolts. I bought bolts from BMW and they were a touch too long and would hit the Rotor. Make sure they are Hardened. I got these from True Value Hardware for $2.50 each.


2.) Have your Machinist mill off .175" of material from the caliper brackets to center the hub on the rotor.

3.) You will have to drill out your existing Hub holes to accept the larger M12 mounting bolt.  


If you want to be able to swap back to your stock calipers, you will need to drill and tap the stock carriers to to accept the M12 caliper bolts.  I have two sets of carriers, so I will do this with one set incase I ever need or want to go mount up the stock wheels.

Caliper with milled surface (-.175)

Big Brakes


New springs and replacement strut

Sunday, October 14, 2012

Hoses

Every post seems to be starting like this, but it seems you can only find upper and lower cooling hoses in the US.  But there is a company in the UK that makes full hose sets for the MK1 Fiesta XR2, and most of the hoses will fit right up.  I also ordered 3 meters of vacuum line.  Don't bother getting them off of ebay.  They just drop ship from the manufacturer and you can order it there yourself.

Roose Motor Sports makes these to order, in your choice of colors, from silicon or a classic black fabric wrap.  It takes a few weeks to make and another week or so to get it to the US. You will have to pay import duty of about $12, plus the price of the hoses.

Now that the engine is in, I can start mounting all the goodies I've been collecting for the last 2 years.

Engine Installed with Lowering Kit

I got the engine bolted back into Betty today complete with the engine lowering kit.  It went in pretty easy, Just 6 bolts.  I used an engine hoist and a floor jack to steady it in place while I got it bolted up.   I   noticed a small oil leak from the oil pump cover plate.  It's just 3 small bolts and an o-ring so will tackle that next.

Front engine mount
Rear Engine Mount

Transmission Mount

Top Engine Mount

Top Engine Mount

Engine Lowering Kit

 I was able to piece together the pieces to lower the engine by 25mm. A couple notes about this.  There is a special spacer bolt that bolts onto the upper RH engine mount bolt and extend the treads upward another inch.

This custom bolt is built for a 10mm mount.  The US Fiesta had 12mm mounting bolt.  I was looking on ebay at the mounts in the UK, and the bolt just looked smaller, so I questioned one of the sellers and sure enough the upper mounting bolt was10mm.  So I bid on it and won it for about $8.00 + considerable shipping from the UK...although less overall than what US mounts cost from BAT.

I also didn't have both cradle spacers, so I bought a 1" square aluminum bar from metal by the foot, and drilled 2 holes with my trusty drill press.  I thought that it being aluminum, that I would be able to saw through it fairly quickly by hand with my hack-saw...wrong.  If you are going to do this,  have the supplier cut it to length.


Once I got the engine mount, the bolt was about 1/2" too long to seat fully onto the custom lowering bolt.  I just cut off about 1/2" with a hack saw.

You probably won't find an actual mount bolt, but they do make 12mm sleeve nuts in grad 5 and 8 from Granger.  This is the only really custom piece.  The rest of the parts are just hardware and could be simple to fabricate with nothing more than a drill press and a hack-saw.

This will lower the center of gravity, and level out the drive shafts, so that torque steer will be reduced.

Saturday, September 8, 2012

$100 Big Brake Kit for the MK1 Fiesta

Everyone who owns a mk1 Fiesta eventually realizes that the front brakes suck. They are too small, the rotors warp easily, and they are thin and unvented. If you can actually find them, the logical thing to do is to source a set of big brakes off a Mk1 XR2 from BAT or the UK. They are engineered to take the beating of a go-fast Fiesta, and they bolt right up if you have larger wheels. But here's the rub, the hanger brackets for the front calipers are as rare as hen's teeth.  Parts suppliers in the UK don't have them, and I dont see them on eBay very often.

So what to do? Well, you could get a kit from Wilwood or Hi-spec from the UK via Burton power, £400-£500, have them shipped, £200, then buy some 15" wheels and tires, $800-$1000 plus shipping, $200...so for $2200 $2500 US, you can make the fiesta stop on a dime.

There is a slightly cheaper option in the states, Kustom Engineering has a kit also for 15" wheels, I think $699 plus shipping, plus wheel costs. So sub $2000.

...or you can do this.
1.) Buy a set of rotors for a 2000 ford focus from your local auto parts store. I paid $26 each.
2.) Buy or source a set of calipers with mounting hardware and brake pads and all the hardware for a 1987 BMW 325is. I found fully loaded calipers(calipers, brackets, pads, hardware) at Rockauto on closeout for $27 a corner. Shipping was only $11.
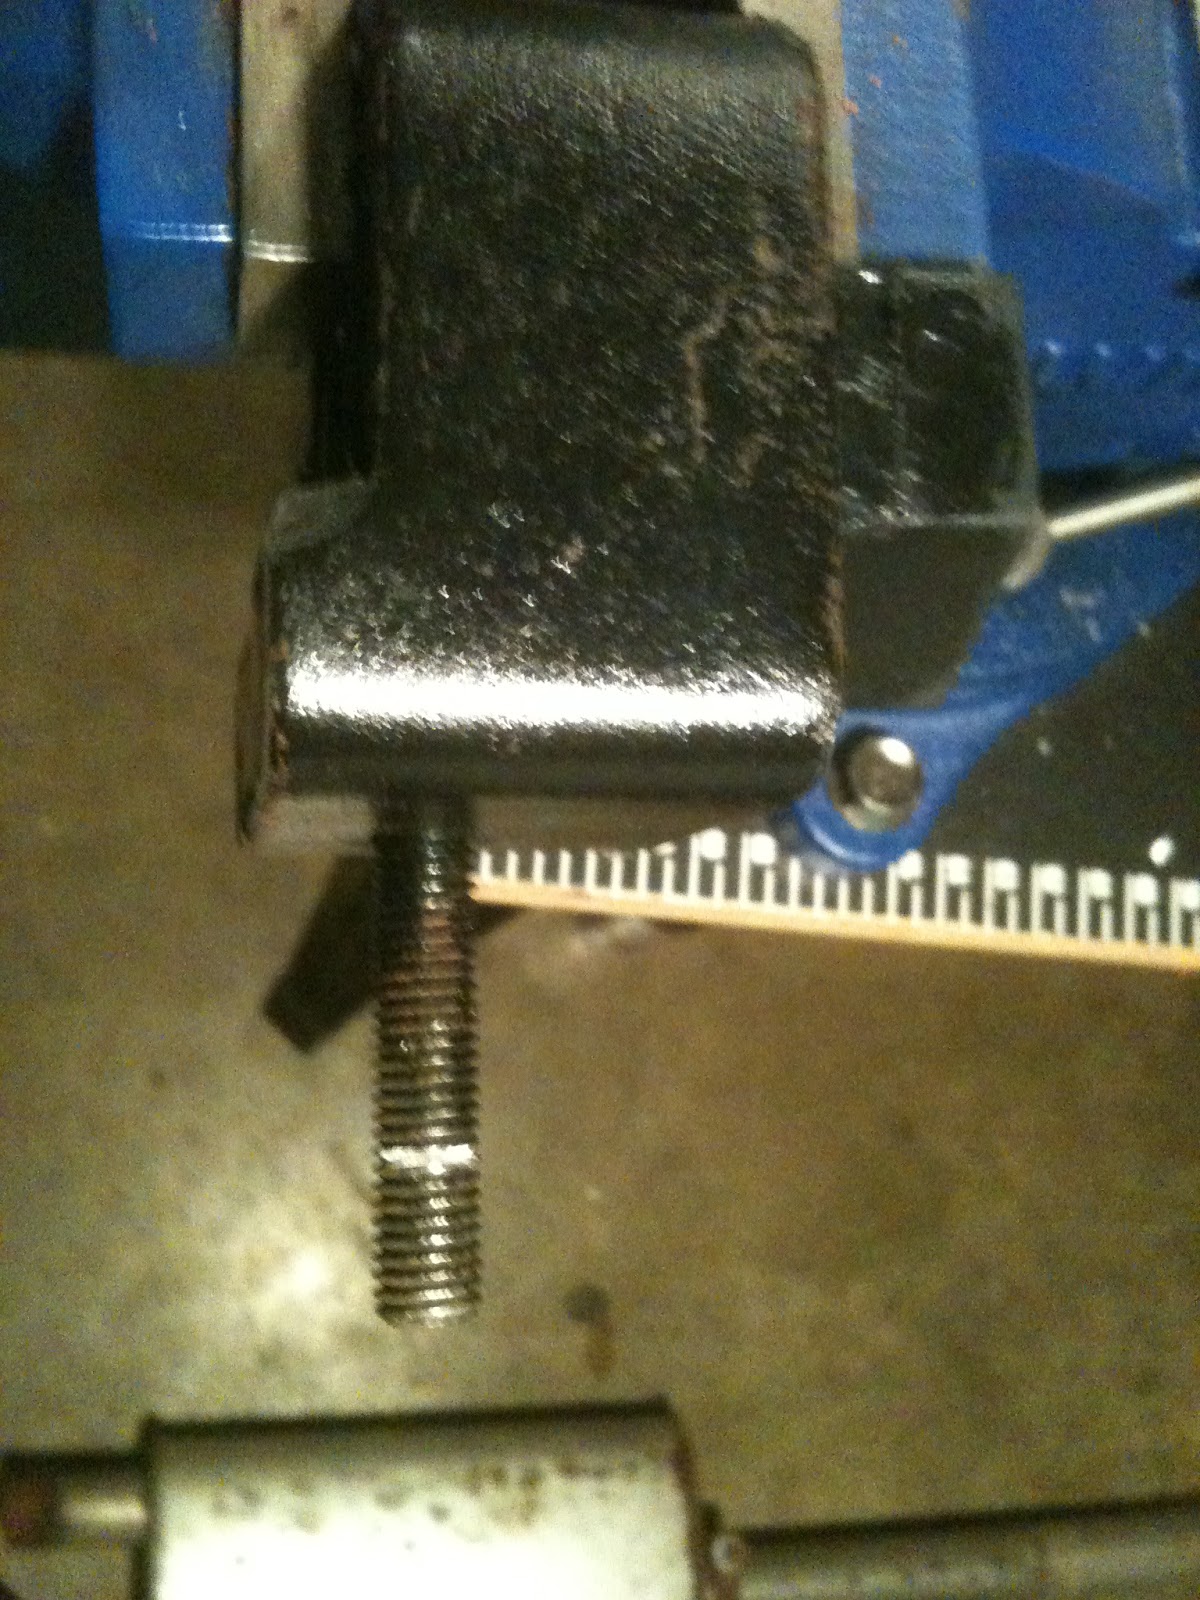
3.) Find a machine shop and have them mill the brackets so that they center on the rotors when mounted to the Stock Fiesta Hub. I have a guy that will do this for me, and will post cost and amount of the bracket he takes off so you know what to tell your machinist. My guess is the labor will cost me $50-$75.
4.) I haven't mounted these yet, but I think my stock lines will work, if not I'll get some braided stainless lines.

I found this buried in the archives of the US Fiesta enthusiasts group on yahoo groups. If you do own a fiesta, you really should join that group. It's such a helpful resource.

Ok so the parts were $106, plus 11 shipping and I already have 14" wheels, and I will need to pay to have the parts machined. So maybe it will cost $200 all-in. Still, pretty cheap for these massive, readily available parts.

Also, if you try this and they fail, you do it at your own risk and assume all liability. I am not an engineer, and make no claims that this is safe.

Sunday, July 22, 2012

Revised power to weight ratio

I incorrectly calculated the power to weight by using the gross vehicle weight.  The curb weight of the fiesta is quite a bit less than that.  I found this spec online for a 1981 UK spec XR2 at an online site  http://www.carinf.com/en/55b046200.html .

So while these numbers are not wrong, the don't reflect the curb weight ratio.

Power to Weight Ratio

GVW
Stock - 63 HP/2690 lbs GVW= 1 HP per 42.7 LBS of Car
Rebuilt - 105 HP/2690 lb GVW  = 1 HP per 25.6 LB of car

Curb Weight Ratios
Stock 63 HP/1766 CW = 1 HP / 28.0 lbs
Rebuilt 105 HP/1766 CW = 1 HP / 16.8 lbs

Saturday, July 21, 2012

Fiesta 1.6L Kent Engine Rebuild on the Dyno


The Stock US Fiesta specs out at 63HP @5300 RPM.   With a Formula Ford Intake & Carb, we achieved 110BHP.  Sweet!  lets see what she makes with the carb/manifold that will live in the car.

When we put the Weber 32/34 DFT 9A on with an XR2 intake manifold, we achieved 101 BHP.   However, the dyno numbers showed rich fuel usage numbers.  We drilled out the air intakes on the primary and secondary jets to .170, the Air/Fuel mixture was still running rich...Hmmm.

This run on the dyno had a couple issues.  One, the fuel return line was not hooked up to a meter to subtract the fuel going back to the tank, so we are going back to the stock 155/160 air jet dimensions, and trying it again.  Also we did not have the cold air box hooked up in the dyno room, so we loose power there.  We should get a few HP back with the air box attached...I was told it could get back close to the 110HP mark, but I will assume 1/2 that gain for this power increase calculation.

Now when I took the engine in, and Curtis got it disassembled, he noticed their was a bushing issue that stopped the rotor from fully advancing the timing.  That made perfect sense since it felt like it had about 40 BHP and gave up pretty early.

When we started to examine everything, we discovered .040 of taper in the cylinder walls...so as long as it is apart, lets make it right, ohhh, and add some high compression pistons...and balance everything....and lighten the flywheel... screw it, lets just rebuild it. And so we did.

I cannot wait to get this bolted back into the car and give it a proper thrashing.

105BHP/63BHP = 66% power increase.

Power to Weight Ratio
Stock 63 HP/1766 CW = 1 HP / 28.0 lbs
Rebuilt 105 HP/1766 CW = 1 HP / 16.8 lbs

Friday, July 20, 2012

Engine on the Dyno


What started off as a valve job on a recently aquired ported and pollished formula ford head, turned into a full rebuild with high compression pistons, a GT cam, a new fuel pump, NOS Weber 32/34 DFT 9A (wrong bolt pattern), and a great engine builder in Platte City, Mo.

Farley engines has specialized in building Formula Ford Race engines for years, and was only a stones throw up the road.  What a great resource to have so close.  The Fiesta engine -- 1.6L Kent -- is basically the same engine as a Formula Ford engine and is highly tunable. Farley Engine was able to do every thing I needed done.

So here is where we are at on the dyno
Set up 1: Loaner formula ford intake manifold and carb.  I'll post the readouts when I get them. The Kent was fed a diet of 100+ octane Aviation gas during these tests...they do not have that at the Quick Trip.

110 BHP @ 6800 RPM....

Set up 2: XR2 Intake Manifold, 32/34 DFT 9A ;170 Air Jets

101 BHP @ 6800 RPM, no cold air intake

Tuesday, May 1, 2012

Dropping the engine

Last Saturday a friend and I tore into dropping the engine. I've read on the us fiesta enthusiasts yahoo group that it takes between 1-4 hours to perform. I can assure you it is a 6-8 hour process if you have never done it and don't have access to a lift. I think that because all the stock add on equipment is in place, also made more time consuming. The thermactor, assorted plumbing, even the clutch cable caused roadblocks and delays.The plan is to install a livelier cam shaft, check for gasket and seal leaks, and pop on the formula ford head, xr2 intake manifold and a new exhaust.

Friday, March 23, 2012

Front and rear swaybars

Picked up a pair of NOS turn six sway bars for the fiesta. I mounted the front sway bar. It bolts onto the front tie bars with 4 hd bushings. I'll have to wait until I put on the exhaust to mount the rear sway bar. The tail pipe gets in the way... It's straight out the back of the muffler.

Sunday, March 11, 2012

Rear Bearings and a hiccup

As expected the Rotunda tools turned an impossible job into one that took no time at all.  The first set of rear bearings took me about 30 mins to get it all installed and greased, and sealed up.  Mainly because I was fumbling around with the tools and how best to hold the drum.  The second drum took a grand total of 5 minutes to completely install.

Mounting the first bearing cup

Forgot to add the outside bearing cup.
They can both be installed together

Cups Installed

On to second Drum, All tools and bearing cups,
and seal laid out prior to  installation


Seal on Rotunda Seal Replacer Tool 1109-B

Seal driven home

Greased and Ready to install...another day

Both Drums complete and ready for installation


The right front suspension was acting a little wonkey, so I tore into replacing the lower control arm bushing and lower ball joint on the right front wheel.  I got everything disassembled fairly quickly but I did not have a hydraulic press to coax the bushing in and out.  So I finally got the right combination of Rotunda tools, dish soap, a couple extra sockets and a bench vise (which I had to mount prior to use).

To install the new Moog lower control arm bushing, I used the bench vise to press the Moog bushing into the control arm until it bottomed out, then I added Rotunda 3069-A4 into the bushing and Rotunda 3069-A3 under the control arm and turned the vise to fully seat the bushing.

I road tested my work and it made a huge difference in handling.  The ball joint was starting to fail, so the combination of new ball joint and control arm bushing really sorted out the right side.

I took off the left wheel, and the rotor is all discolored...and the bearing sounds like there is gravel in it...must have cooked my left wheel bearings.  They are now on order, and I'll do the ball joint, bushing and left side bearings next weekend.

Friday, March 9, 2012

The right tool for the job


When the majority of peoples that inhabited this earth were dependent on the oral transfer of knowledge, nuggets of knowledge were created as a rhyme or saying to make them easy to remember and pass along to others.  While "Use the right tool for the job" doesn't rhyme, it holds very true.  So I followed that advise and procured a set of 1977 fiesta specialty tools made by Rotunda.  These pop up on ebay all the time.  The big set on the left is all about transmission work and engine work, while the set on the right is all about suspension, steering, bearings, bushings, seals and gas tank sending units.  It did not cost a great deal, but I will pay for the set in time and money saved.  In fact one job I couldn't do last spring was installing the new bearings in the new rear brake drums. I now have the right tools to get it done properly and quickly.  Also up on the docket is installing all new bushings in the front and rear suspension...need to get those ordered. I can't wait to tear into this on sunday.

Tuesday, February 28, 2012

XR2 Intake manifold

Picked up a couple bits from the UK.  An XR2 intake manifold and gear linkage return spring and clip.